Team management
Your organization’s members are managed from the Team page of the dashboard. From there you invite collaborators, assign them a role, scope what they can access, and handle day-to-day account actions (resend an invitation, reset a password or MFA, remove a member, transfer ownership).
Open the Team page
Section titled “Open the Team page”- Open the organization menu in the dashboard sidebar (the organization name at the top of the navigation).
- Under the Manage section, click Team.
The Team page lists every member of the organization and opens on a set of summary cards (Total, Administrators, Developers, Operators) above the member list.
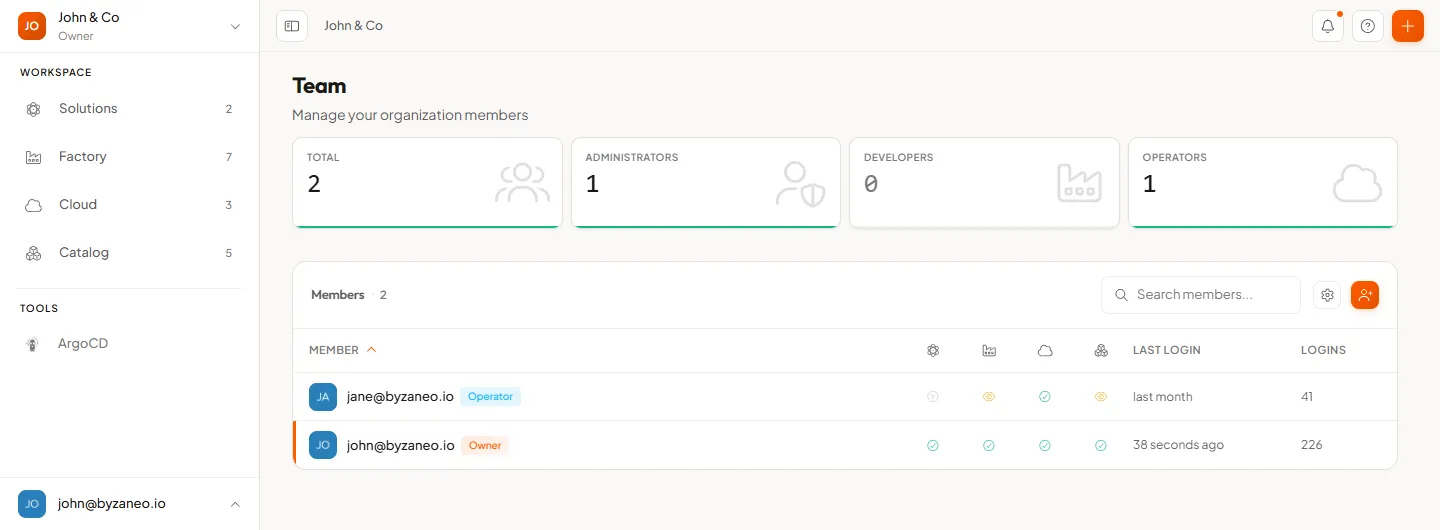
Each summary card also surfaces how many members have MFA enabled and how many addresses are still unverified, so you can see the security posture of the team at a glance.
Understand the roles
Section titled “Understand the roles”Every member holds exactly one organization role. The role decides what the member can see and do across the four platform pillars (Factory, Cloud, Solutions, Catalog) and whether they can manage the organization itself.
| Role | What it can do |
|---|---|
| Owner | Full platform access. The only role that can manage the subscription and billing. Can transfer ownership. There is exactly one Owner per organization. |
| Admin | Full platform access and can manage members and integrations. Cannot manage the subscription. |
| Developer | Full Factory access (build and ship services), read-only on Cloud. Cannot manage members or integrations. |
| Operator | Full Cloud access (clusters, routes, storage), read-only on Factory. Cannot manage members or integrations. |
Invite members
Section titled “Invite members”- On the Team page, click Invite.
- In the Invite Members panel, enter one or more email addresses. Separate multiple addresses with a comma; each is validated as you type.
- Choose the Role to assign to the new members: Administrators, Developers, or Operators.
- Optionally adjust pillar access (see Scope pillar access).
- Click Invite to send the invitations.
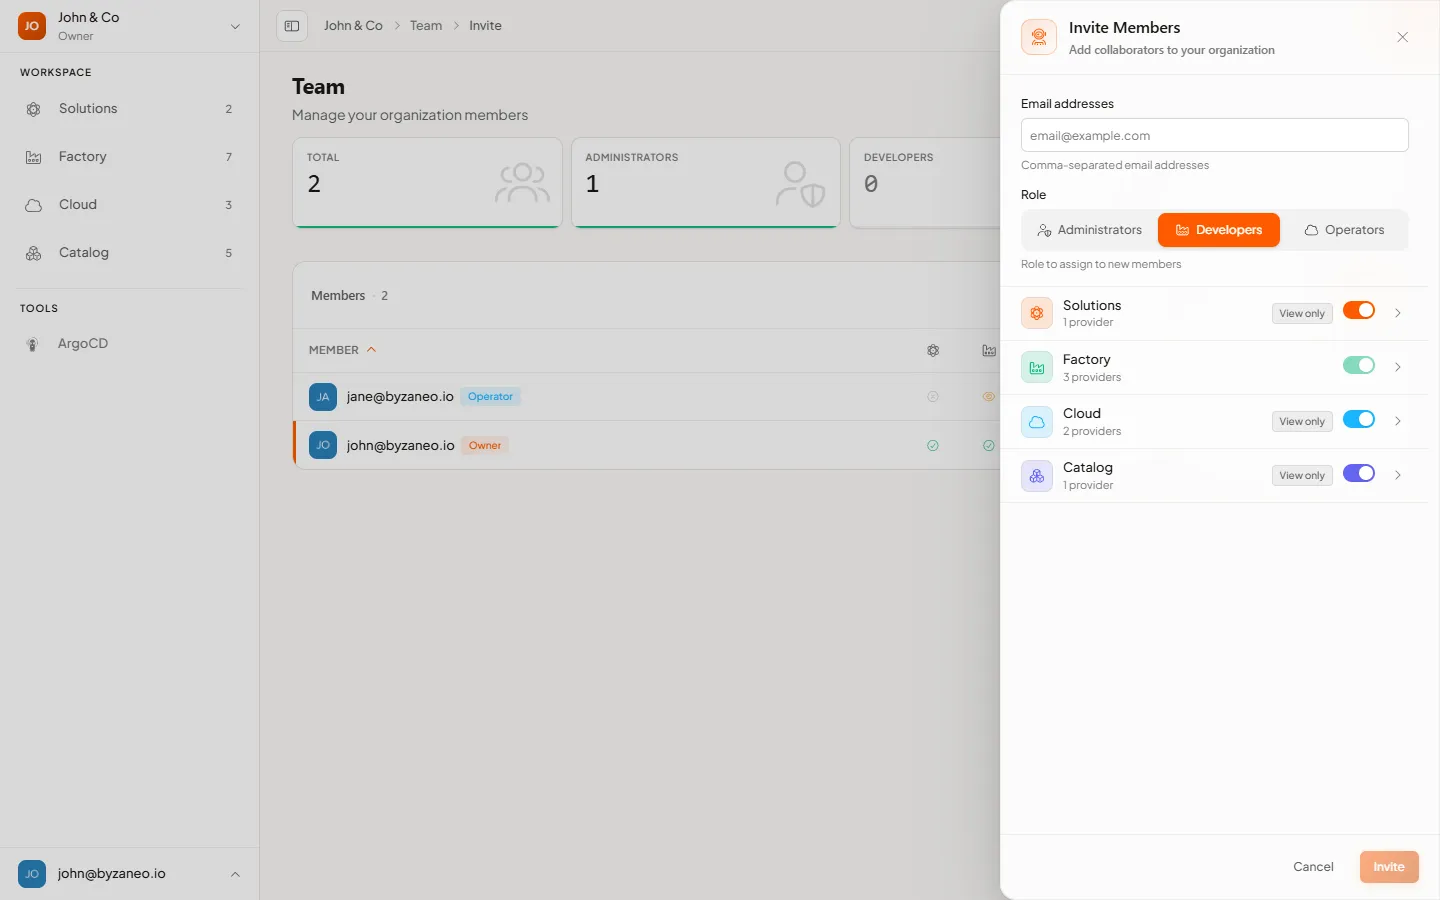
Each invited address receives an email invitation. Until the person follows the invitation link and signs in, they appear in the list with an Invitation pending badge.
When the invitations are sent, a summary tells you how many succeeded. If some
failed, use Retry to resend only the failures. If a problem persists,
contact support@h8l.io.
Scope pillar access
Section titled “Scope pillar access”The invite and member panels let you fine-tune which pillars a member can reach, pillar by pillar (Solutions, Factory, Cloud, Catalog), and which integrations within each.
- A member’s primary pillar is locked on: Factory for Developers, Cloud for Operators. It cannot be turned off.
- At least one pillar must remain active. To fully remove someone’s access, remove them from the organization rather than disabling every pillar.
Manage an existing member
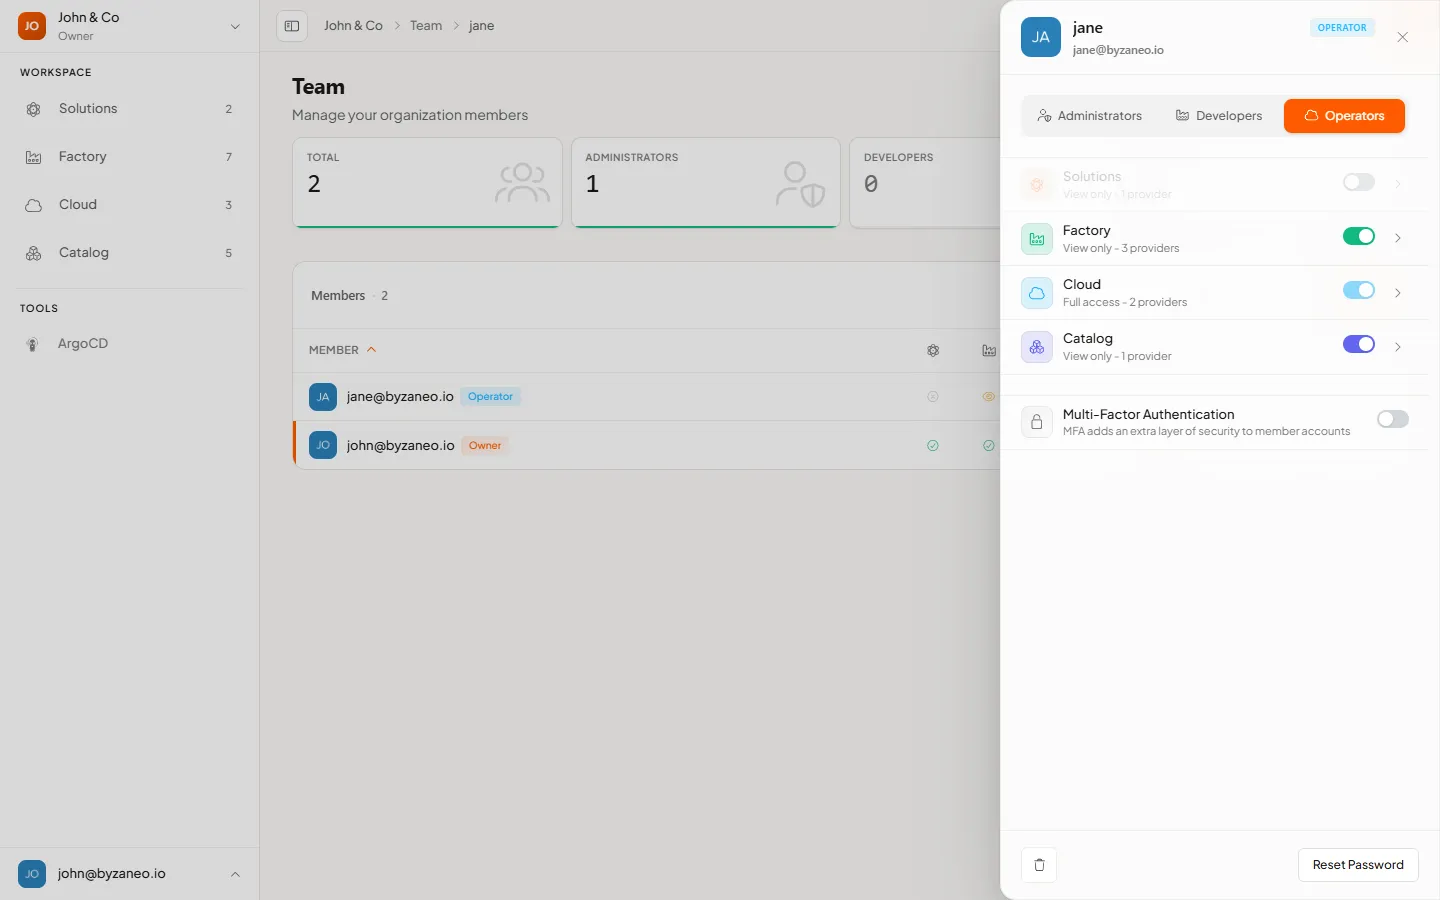
Section titled “Manage an existing member”Click a member’s row in the list to open their detail panel. The header shows their name, role, and status. From here you can:
- Change the role: switch between Admin, Developer, and Operator. The Owner role cannot be changed here.
- Adjust pillar access: toggle pillars and their integrations, then Save.
- Resend Invitation: for a member whose invitation is still pending.
- Resend Verification: for a member whose email is not yet verified.
- Reset Password: send the member a password-reset email.
- Reset MFA: remove the member’s MFA factors and recovery codes. They will be asked to set MFA up again on their next sign-in.
- Remove: remove the member from the organization. They immediately lose access to all resources.
Member statuses
Section titled “Member statuses”The badges next to a member tell you the state of their account:
- Invitation pending: invited, but has not yet signed in through the invitation link.
- Unverified: the email address has not been confirmed yet.
- MFA: multi-factor authentication is active on the account.
- Blocked: the account is currently blocked.
Transfer ownership
Section titled “Transfer ownership”An organization has a single Owner. To hand it over, the current Owner transfers ownership to an Admin whose email is verified.
- Open the target Admin’s detail panel.
- Click Transfer Ownership.
- Confirm by typing the member’s email address.
The chosen Admin becomes the new Owner, and you become an Admin.
Enforce MFA for the whole team
Section titled “Enforce MFA for the whole team”You can require multi-factor authentication for every member of the organization.
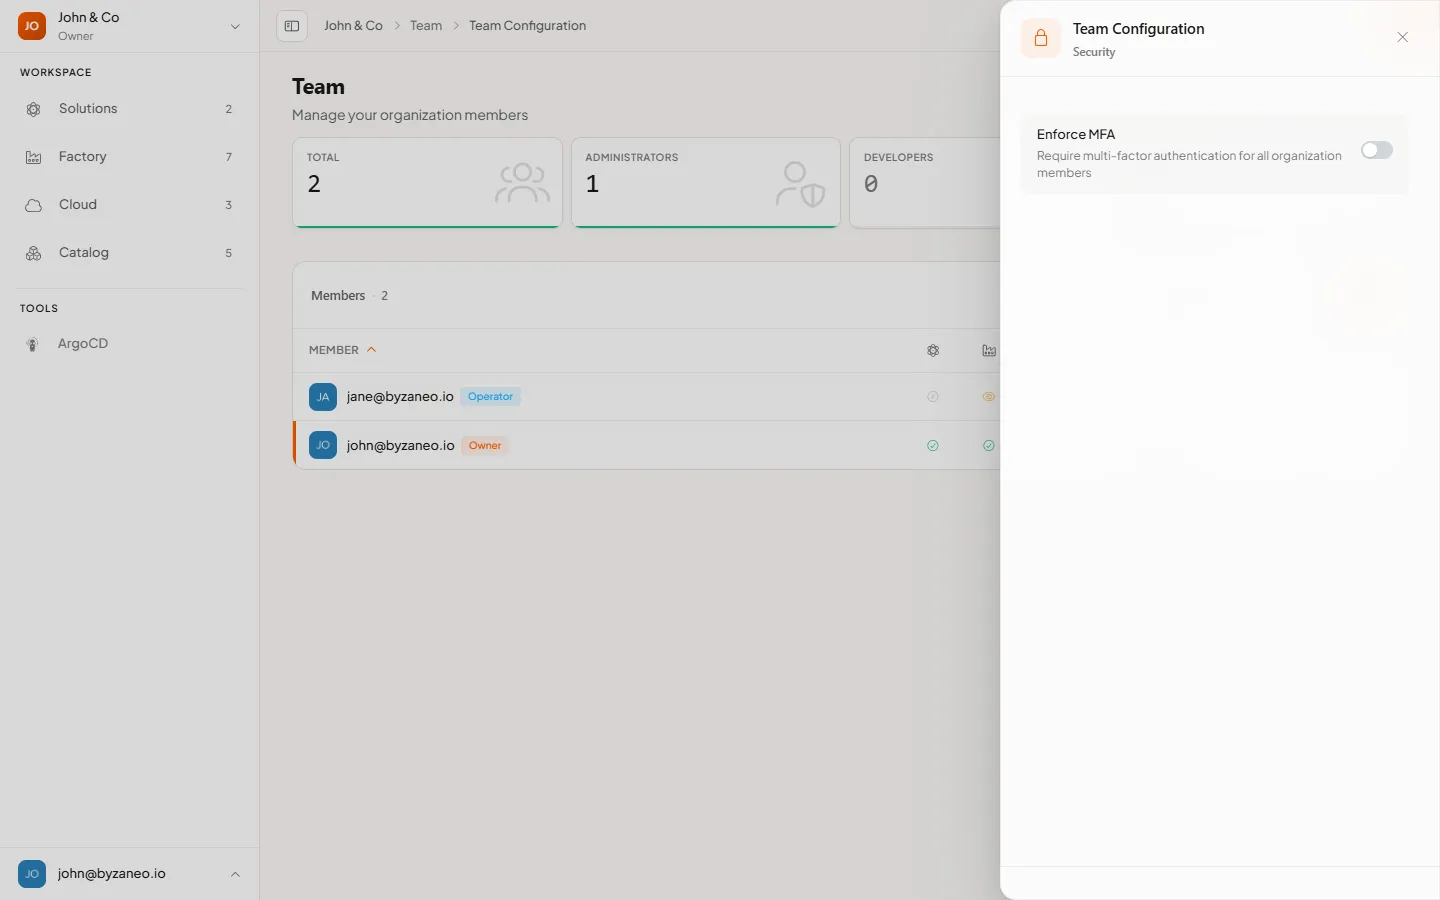
- On the Team page, open Team Configuration (the gear icon in the toolbar).
- Under Security, turn on Enforce MFA.
Once enabled, every member must set up MFA to keep using the platform. Turning it off later removes the requirement but does not strip MFA from members who already configured it.